
Introduction
Completing a jigsaw puzzle is a rewarding experience, but once the last piece is in place, you might wonder how to preserve your hard work. Gluing a jigsaw puzzle transforms it into a durable piece of art ready for framing or display. Whether it’s a sentimental family project or a stunning landscape, this guide will walk you through how to glue a jigsaw puzzle flawlessly.
Why Glue a Jigsaw Puzzle?
Gluing your puzzle prevents it from falling apart and allows you to showcase it as wall art, a tabletop centerpiece, or even a gift. Puzzle glue strengthens the bonds between pieces, protects the surfa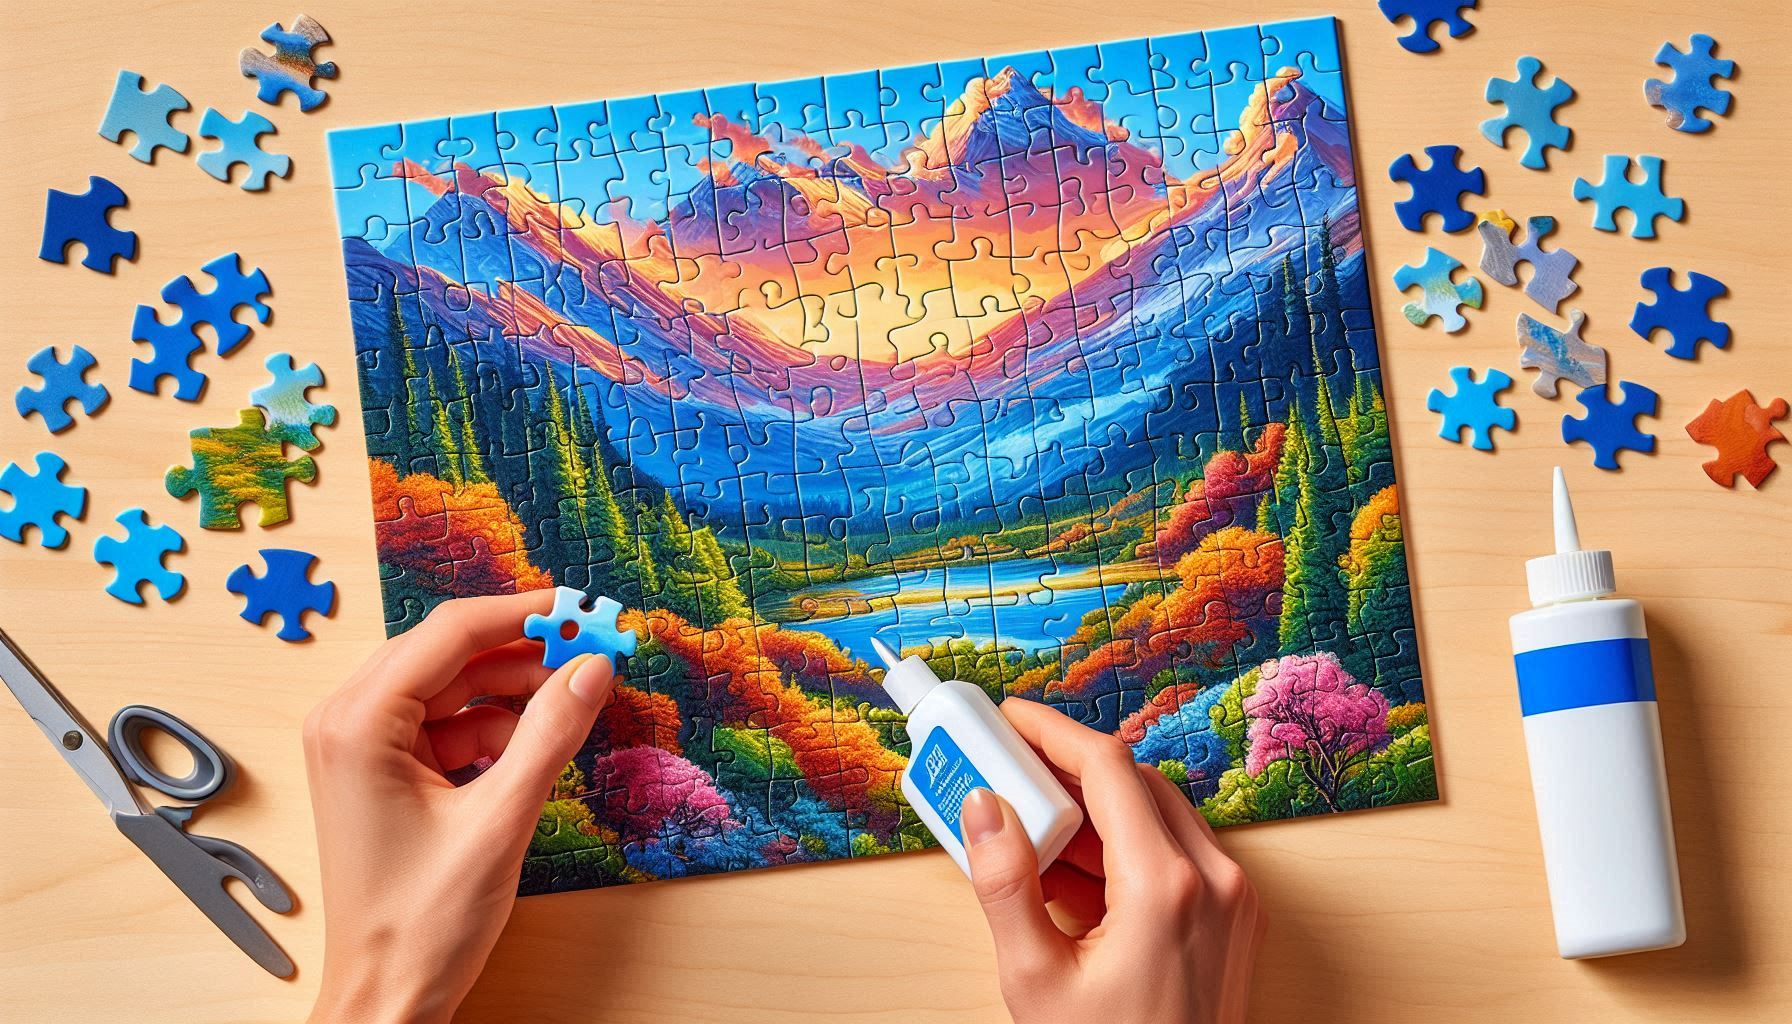
Materials You’ll Need
Before starting, gather these supplies:
-
Puzzle glue (brands like Mod Podge Puzzle Saver or Ravens burger)
-
Wax paper or a puzzle mat
-
Soft-bristle brush or spatula
-
Rolling pin (optional, for flattening)
-
Frame or mounting board (for display)
Prepare Your Puzzle
Ensure It’s Complete
Double-check that no pieces are missing. Gluing an incomplete puzzle could lead to frustration later!
Flatten the Puzzle
If your puzzle is curled, place heavy books on it overnight or use a rolling pin (covered with wax paper) to gently smooth it.
Protect Your Workspace
Slide wax paper or a puzzle mat under the puzzle to prevent sticking to your table. For large puzzles, work in sections.
Choose the Right Glue
Not all adhesives are puzzle-friendly. Avoid school glue or rubber cement—they can warp pieces or yellow over time. Opt for:
-
Liquid Puzzle Glue: Dries clear and is applied with a brush.
-
Spray Adhesive: Quick-drying but requires careful application.
-
DIY Option: Mix 2 parts white glue with 1 part water for a budget-friendly alternative.
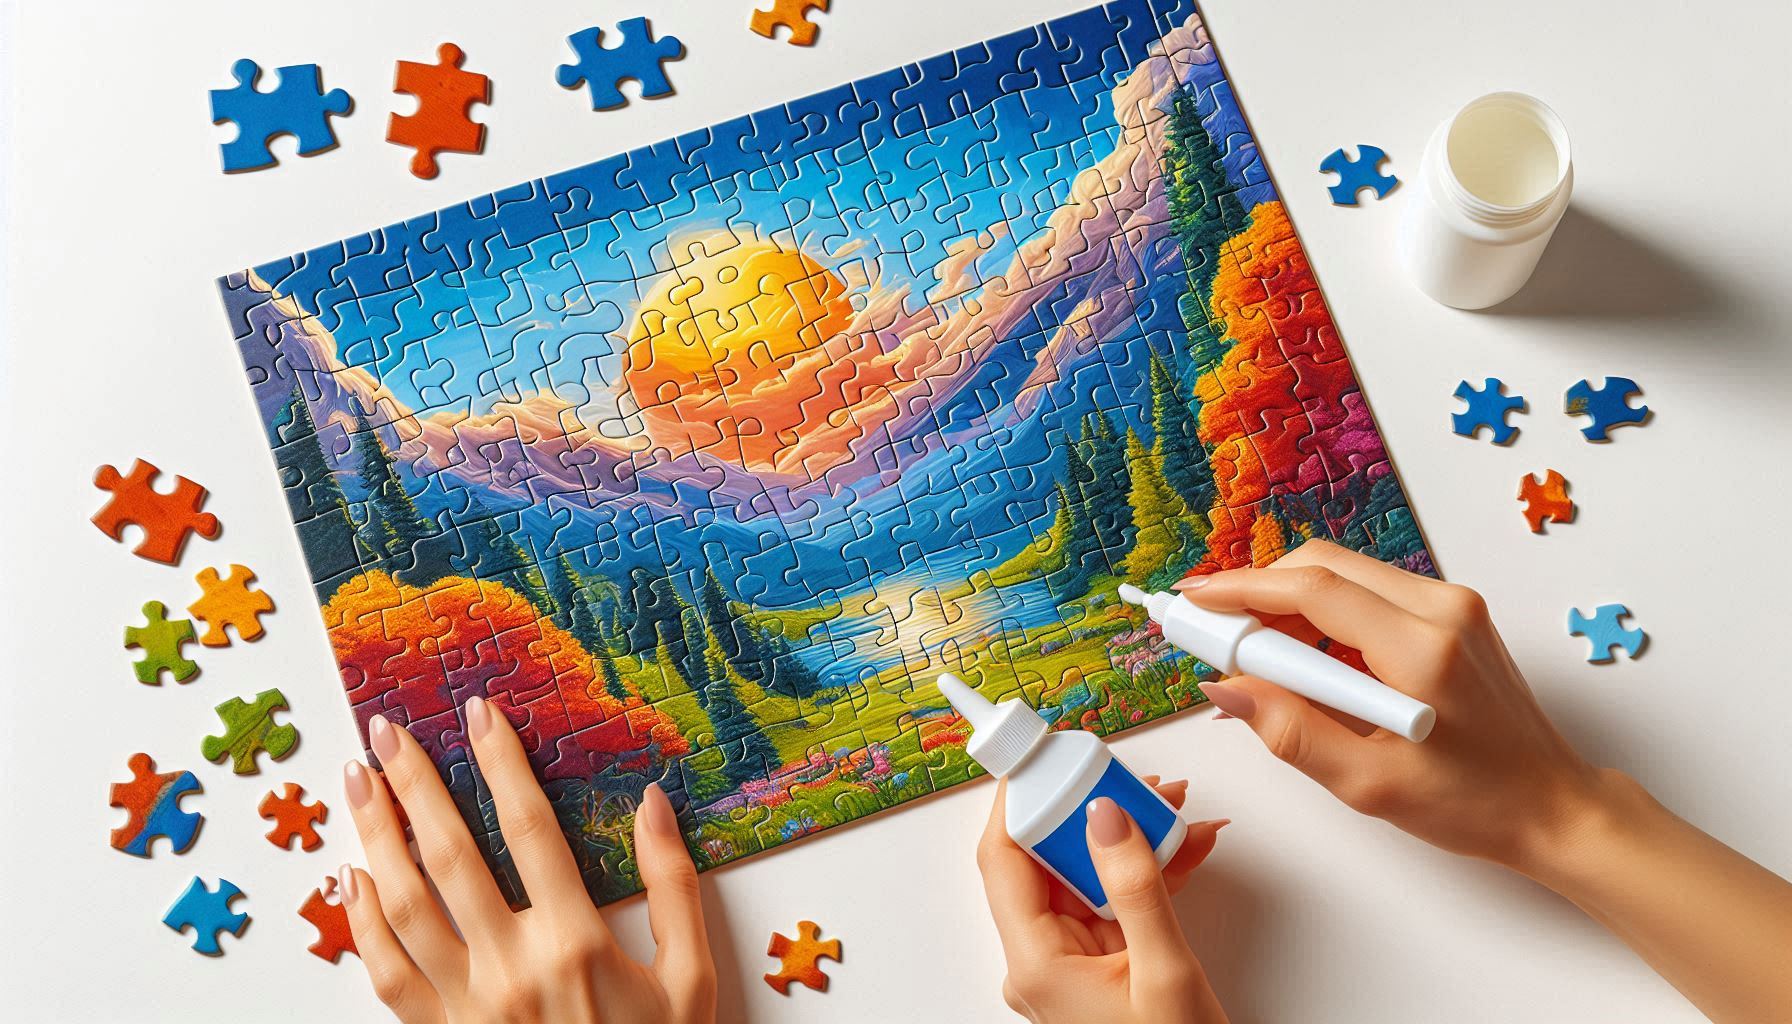
Apply the Glue
Frontside Application (Recommended)
-
Start in Sections: For large puzzles, work on one area at a time.
-
Use a Brush: Pour glue onto the puzzle and spread evenly with a soft brush, covering edges and corners.
-
Fill Gaps: Ensure glue seeps between pieces for a strong bond.
Backside Application (Alternative)
Flip the puzzle carefully (use wax paper on both sides) and glue the back. This method hides brush strokes but risks pieces shifting.
Pro Tip: Apply a thin first coat, let it dry (1–2 hours), then add a second coat for durability.
Let It Dry Thoroughly
Place the puzzle in a flat, dust-free area. Drying time varies:
-
Liquid glue: 4–6 hours
-
Spray adhesive: 1–2 hours
Avoid moving the puzzle until fully dry to prevent cracks.
Mount or Frame Your Puzzle
Once dry, your puzzle is ready to display!
-
Framing: Use a custom frame with UV-protective glass to prevent fading.
-
Mounting: Adhere the puzzle to foam board using double-sided tape.
-
Creative Displays: Laminate it as a
 .
.
Common Mistakes to Avoid
-
Using Too Much Glue: This can warp the puzzle. Stick to thin, even layers.
-
Skipping Drying Time: Patience ensures a smooth finish.
-
Neglecting the Edges: Reinforce borders to prevent lifting.
FAQ Section
Q: Can I use regular glue like Elmer’s?
A: While possible, white glue may not provide the same flexibility. Mix with water for better results.
Q: How do I fix air bubbles after gluing?
A: Gently prick the bubble with a pin and smooth the surface with your finger.
Q: Can I move the puzzle after gluing?
A: Wait until it’s fully dry. Slide a stiff board underneath for safe transport.
Q: Will glue damage the puzzle’s image?
A: High-quality puzzle glue dries clear and glossy, enhancing colors without smudging.
Conclusion
Learning how to glue a jigsaw puzzle is a simple process that lets you turn fleeting fun into lasting décor. With the right materials and patience, you’ll preserve memories and showcase your puzzling skills proudly. Ready to start? Grab your glue and give your masterpiece the spotlight it deserves!
SEO Keywords Used:
-
How to glue a jigsaw puzzle
-
Preserve jigsaw puzzle
-
Puzzle glue
-
Frame a puzzle
-
Best glue for puzzles
-
Puzzle preservation
By following this guide, your article is optimized for search engines while providing actionable advice. The structure, keywords, and FAQs enhance readability and SEO performance.

Leave a Reply