
This guide explains how to estimate window tinting costs using a tint calculator approach that accounts for film type, pane size, visible light transmission (VLT), and additional variables like labor and warranty. It outlines the trade-offs between sun control, privacy, appearance, and price so homeowners and vehicle owners can make informed decisions before requesting a quote or using a digital tool.
Why use a tint calculator?
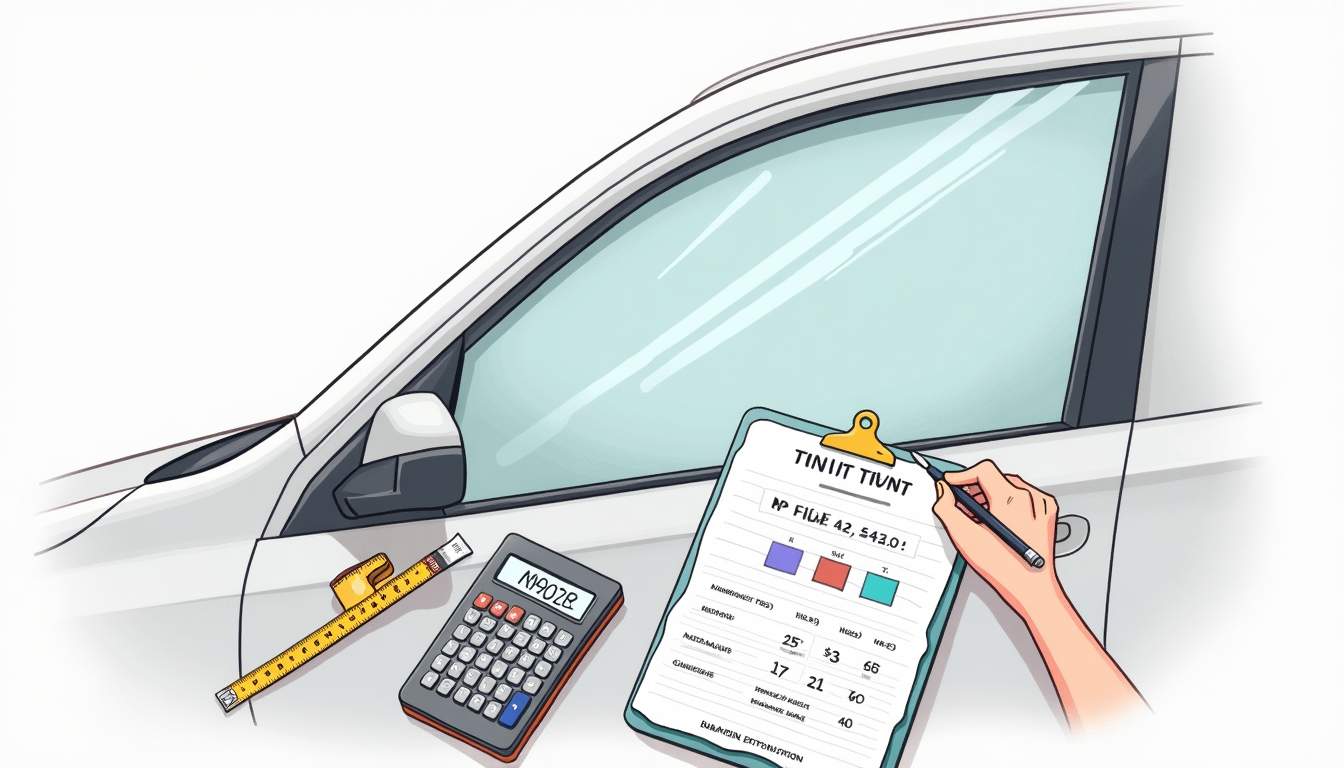
A tint calculator converts technical details such as square footage, film category, and VLT into a realistic cost estimate. Rather than guessing from hourly rates or single-installer prices, a calculator yields line-item clarity: material cost, labor, disposal, and optional extras (ceramic coatings, UV-blocking layers, or decorative films). For commercial projects or larger homes, this clarity helps compare bids, budget accurately, and prevent sticker shock.
Calculators are particularly useful when projects vary in complexity. A small bathroom window needs a different approach than an entire storefront or a multi-pane skylight with low-e coatings. They also force consideration of non-obvious costs—such as scaffolding for high windows, shipping for specialty films, or tax and permit fees in regulated jurisdictions.
Key inputs: Film type, size, and VLT
Three primary inputs drive any tint cost estimate: the type of film selected, the total area to be covered, and the desired visible light transmission (VLT). Film types range from basic dyed films to multi-layered ceramic or metallic films; each brings a distinct production cost and performance profile. Size is usually measured in square feet or square meters and multiplied by the per-unit cost of the chosen film plus installation time. VLT affects both performance and price because more advanced films maintain higher clarity while achieving lower VLT, and those films are costlier to manufacture.
Beyond these, secondary inputs influence pricing: substrate type (glass thickness, tempered vs. annealed), frame accessibility, presence of existing films that must be removed, and climate-specific requirements (e.g., code-mandated solar control for commercial buildings). Accurately capturing these details ensures the estimate reflects actual conditions rather than an optimistic baseline. For more information, you can visit OC Tint Solutions to explore detailed options and professional guidance.
Film types explained
Common film categories include dyed, metalized, hybrid, carbon, and ceramic films. Dyed films are the least expensive, providing basic glare reduction and some privacy but limited heat rejection. Metalized films add reflective layers to improve heat control and durability, but they can interfere with electronic signals if not chosen carefully. Hybrid films combine dye and metal to balance aesthetics and performance. Carbon films offer dark, non-reflective finishes with better thermal performance than dyed options. Ceramic films, the premium choice, use non-conductive ceramic particles for excellent heat and UV rejection without compromising signal transmission or optical clarity.
Understanding VLT (Visible Light Transmission)
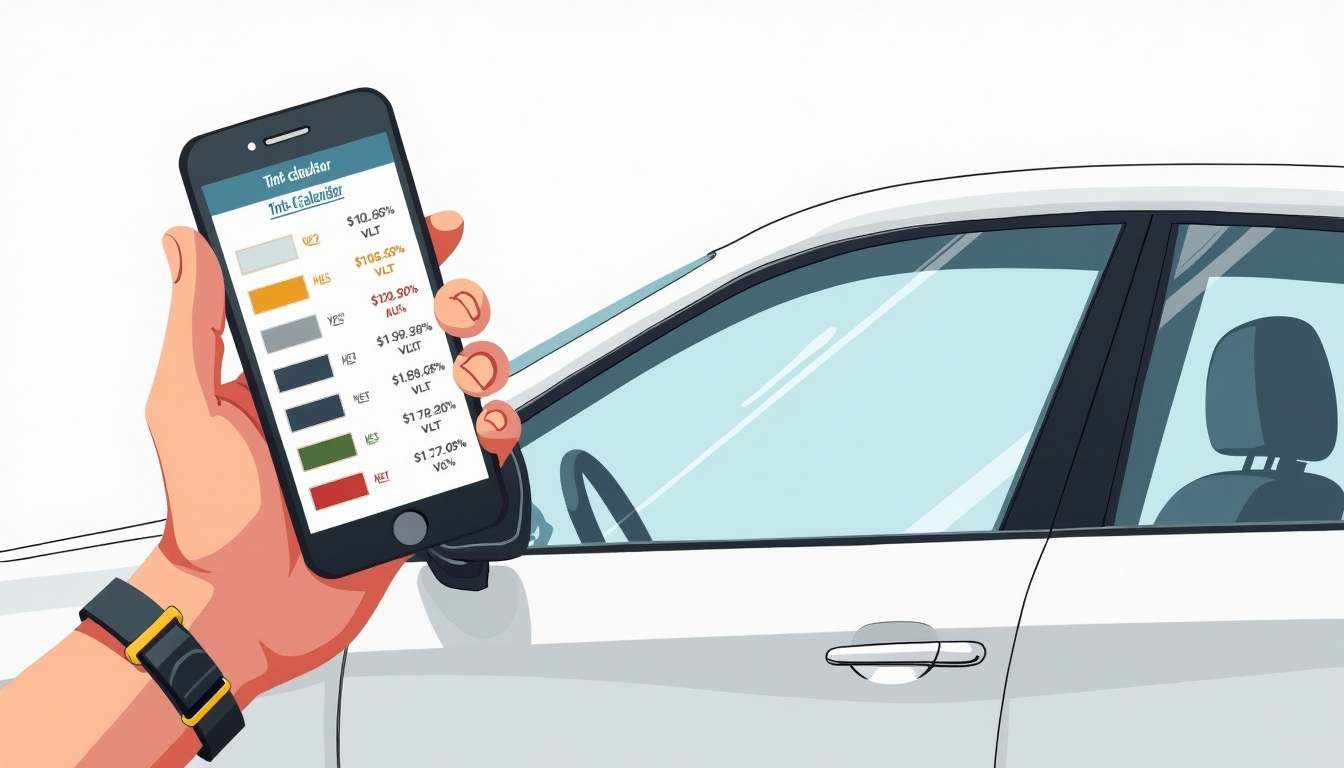
VLT is expressed as a percentage indicating how much visible light passes through the film and glass. A high VLT (e.g., 70–90%) allows more light and keeps interiors brighter, making it optimal for climate zones where daylight is preferred or for areas requiring visibility. Lower VLTs (e.g., 5–35%) offer greater privacy and reduced glare but darken interiors and are sometimes restricted by local ordinances for vehicle windows. Because achieving very low VLT while preserving color and heat rejection demands more advanced materials, lower VLT films are often costlier per square foot.
How to calculate material cost
Start by measuring each pane’s width and height in feet (or meters) and multiplying to get square footage. Sum the areas for the total square footage. Multiply the total area by the material cost per square foot for the chosen film. Most manufacturers list prices by roll or square foot; select the appropriate figure based on whether the project uses off-the-shelf roll widths or custom-cut pieces. Don’t forget to add a waste factor — typically 5–15% — to cover trims, cutting errors, and pattern matching.
Example: A small project with 120 sq ft using carbon film at $6.50 per sq ft yields $780 in raw material. Adding a 10% waste factor raises that to $858. This gives a reliable starting point before labor and extras are included.
Adjusting for roll width and pattern
Film rolls come in fixed widths (e.g., 24″, 36″, 48″). When panes vary in size, the installer may have to orient cuts in ways that increase waste. Patterned or multi-layer films that require matching may increase waste beyond typical percentages. Commercial calculators often include an option to account for roll wastage and layout inefficiencies, which improves estimate accuracy for varied or irregular installations.
Specialty films and markups
Specialty films — anti-graffiti, safety/laminated films, decorative patterns, or high-end ceramic films — carry higher unit costs. In addition, retailers or installers might apply markups for inventory handling, shipping fragile rolls, and maintaining specialty stock. When a calculator indicates a base material cost, check whether that reflects wholesale material prices or includes retail markup; many consumer-focused calculators present retail figures by default.
Labor and installation time
Labor is often the largest variable. Installation time depends on skill level, window accessibility, number of small panes vs. large panes, and the need for scaffolding or ladders. Simple vehicle tint jobs might be quoted per window or by vehicle, while residential and commercial projects are typically hourly or based on per-square-foot labor rates. Installers often charge a minimum fee to cover preparation and travel time for small jobs.
An accurate calculator will estimate labor hours for each window or uniform area and multiply by the installer’s hourly rate. For example, a straightforward residential project of 10 standard-size windows might take 6–8 hours for a two-person crew, while a storefront could take a full day plus specialized equipment, doubling or tripling labor hours. Including setup, cleanup, and drying time produces realistic timelines and reduces surprises.
Factors that increase labor time
Complexities that lengthen installation include curved glass, tinted or frosted glass already present, delicate historic panes that require special care, high or hard-to-reach windows, and multi-layer or thick safety films that are heavy and harder to conform. Installers also spend time removing silicone, old adhesives, or other contaminants — tasks that should be factored into labor estimates.
Labor rate ranges to expect
Rates vary by region and installer expertise. Entry-level installers may charge lower hourly rates but can take longer and risk mistakes; certified or specialist technicians command higher rates but work quickly and with fewer errors. Calculators that allow the user to input local labor rates provide the most realistic totals.
Additional costs: Extras, disposal, and warranty
Beyond materials and labor, several common extras affect the final price. Waste disposal for removed films, environmental fees, travel surcharges for remote locations, and permit or inspection fees in regulated jurisdictions add incremental costs. Optional upgrades — such as lifetime warranties, extended UV-blocking layers, anti-scratch coatings, or electrical compatibility testing for vehicle antennas and sensors — all add to the total but may be worth the investment for long-term performance.
Warranties merit special attention. A lifetime warranty may increase initial cost, but it protects against bubbling, delamination, and adhesive failure. Warranties often transfer with the property for residential installations but may have restrictions. A calculator that includes optional warranty tiers helps weigh upfront costs against future peace of mind.
Travel, access, and equipment charges
Installers commonly charge a travel fee for jobs outside their normal service area. When specialized equipment such as lifts, scaffolding, or fall protection systems is required, equipment rental costs can be substantial and should be included in estimates. For multi-day projects, consider daily equipment rental versus per-project rental fees; the calculator should offer fields for both possibilities.
Taxes and compliance
Sales tax and local regulations can change the final figure. Commercial projects may be subject to different tax treatments than residential jobs. Some municipalities regulate window transparency for storefronts, requiring specific solar heat gain coefficients or VLT ranges; compliance testing and certification add cost but are essential for avoiding fines or rework.
Putting it all together: Example estimates
Three short scenarios illustrate how the inputs translate into final costs. Scenario A: A single-family homeowner wants moderate sun control for 12 standard windows (total 150 sq ft) using mid-range carbon film at $7/sq ft, 10% waste, and two-person crew charging $75/hour for a one-day job. Material: 150 x $7 = $1,050; waste adds $105 = $1,155. Labor: 8 hours x $150 (crew) = $1,200. Extras: $150 for travel and disposal. Estimated total: $2,505. Scenario B: A vehicle owner chooses ceramic film for all side and rear windows on a mid-size car, quoted per vehicle at $450–$900 depending on brand and VLT. Scenario C: A storefront (600 sq ft) requires safety film and ceramic solar control film at $12/sq ft, specialized lift rental $300/day, and two installers for two days. Material: 600 x $12 = $7,200; labor: 16 hours x $150 = $2,400; equipment: $600; waste and extras add $720. Estimated total: ~$10,920.
These examples demonstrate scaling: per-square-foot costs multiply quickly on large projects, and labor/equipment become dominant factors for complex or high-access jobs. For vehicles or small residential jobs, per-project flat rates are common and may offer better value than per-square-foot pricing.
How to use a tint calculator effectively
Select a calculator that allows customization of film type, VLT, roll width waste, labor rate, crew size, travel, and warranty options. Enter precise measurements rather than rounded guesses, and include information about existing films or glass coatings. If the calculator provides multiple film choices, compare total costs as well as performance metrics like heat rejection, UV block percentage, and non-reflectivity. High-performance films with superior solar rejection may cost more up front but reduce HVAC loads and protect interiors, potentially leading to long-term savings.
When comparing installer quotes generated by a calculator, ensure assumptions align: identical film models, the same waste allowances, and comparable labor rates. Request itemized quotes from installers, not lump-sum prices, and ask for references or photo examples of completed work to assess quality beyond cost alone.
Common mistakes to avoid
Underestimating waste and not accounting for patterned or curved glass are frequent sources of under-quoting. Ignoring local regulations about VLT or reflective finishes can lead to costly rework. Opting solely for the lowest price without verifying installer experience or warranty terms often results in premature failure and higher lifetime costs.
When to call a professional
Complex projects — historic buildings, climate-critical commercial installations, and high-end vehicles with integrated sensors or heated glass — benefit from professional assessment. Pros provide on-site measurements, safety planning, and custom solutions; they also verify compatibility with electronic systems and building regulations. Use the calculator as a planning tool, then obtain written quotes from reputable installers for binding numbers.
Final considerations and next steps
Estimating window tinting costs requires a balance of measurable inputs and realistic allowances for labor and complexity. A reliable tint calculator improves planning, supports apples-to-apples comparisons, and exposes the trade-offs between cost and performance. Prioritize film type and VLT based on climate, privacy needs, and energy goals, then refine the estimate with accurate measurements and local labor rates.
To move forward, gather window dimensions, decide on desired VLT, choose a few film categories to compare (carbon, ceramic, hybrid), and run calculations with varied waste and labor scenarios. Collect itemized quotes from two or three qualified installers to validate the calculator’s results. That approach leads to an informed purchase that meets performance expectations without surprise costs.

Leave a Reply