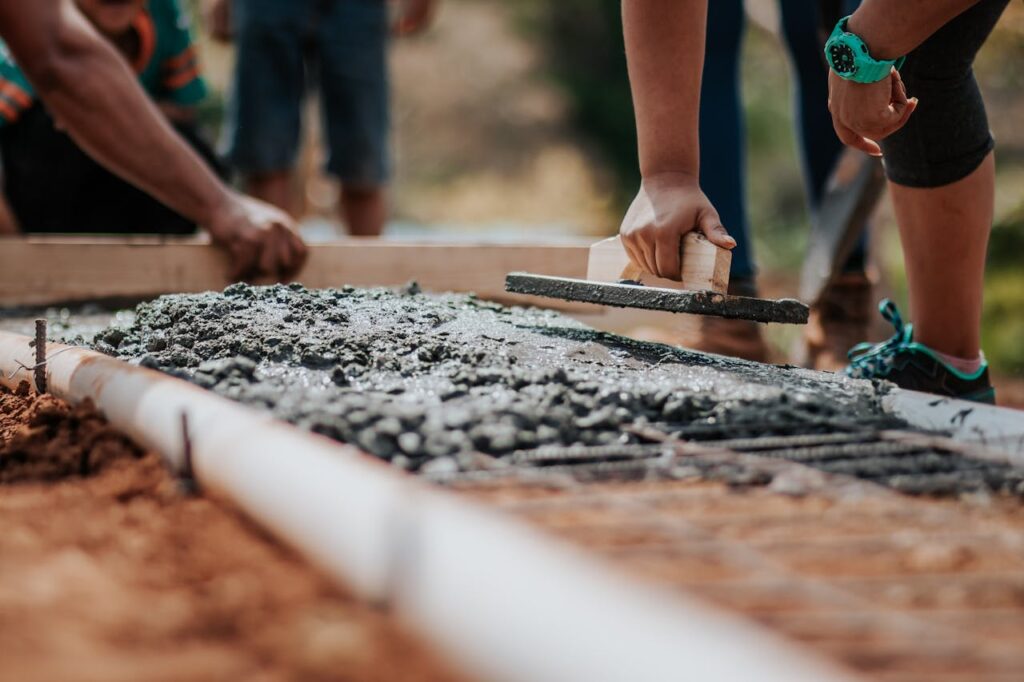
Sidewalks are the unsung heroes of our neighborhoods. They guide us safely to our destinations, offering a smooth path for pedestrians, joggers, and even the occasional cyclist. Sadly, like all things, concrete sidewalks can succumb to the relentless passage of time and harsh weather conditions, developing unsightly and potentially fix concrete cracks.
Here at HiTech Construction, we understand the importance of maintaining a safe and aesthetically pleasing walkway surrounding your property. This comprehensive guide will equip you with the knowledge to tackle concrete sidewalk repair projects in your USA home, from identifying the severity of cracks to choosing the most appropriate repair method.
Understanding Concrete Sidewalk Cracks – A Matter of Size Does Matter
Not all cracks are created equal. Before embarking on any concrete sidewalk repair, it’s crucial to assess the severity of the crack. Here’s a breakdown of the different types of cracks and their potential impact:
- Hairline cracks (less than ¼ inch wide): These are the most common cracks and are often considered cosmetic imperfections. They typically don’t pose a safety hazard and can be addressed with simple crack sealing solutions.
- Small cracks (¼ inch to ½ inch wide): These cracks require some attention but may not necessarily be a structural concern. They can be repaired using concrete patching compounds or flexible caulk.
- Medium cracks (½ inch to 1 inch wide): Cracks of this size indicate potential movement in the underlying soil. While they may not immediately compromise the structural integrity of the sidewalk, they could become a tripping hazard over time. Repair for medium cracks typically involves cleaning, filling, and potentially under-slab leveling techniques.
- Large cracks (wider than 1 inch): These cracks are a significant cause for concern. They often indicate significant underlying foundation issues and can become serious tripping hazards. Repairing large cracks may require professional expertise and potentially involve lifting or replacing the affected concrete slabs.
When to DIY and When to Call the Pros: Your Guide to Sidewalk Repair Solutions
While some sidewalk cracks can be tackled as a DIY project, others require expertise to ensure a long-lasting and safe repair. Here’s a breakdown of when you can take on the project yourself and when it’s best to call in the professionals:
DIY Sidewalk Crack Repair:
- Hairline cracks: These can be easily filled with a high-quality concrete crack sealant readily available at most hardware stores.
- Small cracks: Cracks within this range can often be addressed with concrete patching compounds or flexible caulk.
Call the Pros:
- Medium cracks: While some may be suitable for DIY repair using specialized under-slab leveling techniques, it’s best to consult a professional for proper assessment and repair strategy. They have the expertise and equipment to ensure a structurally sound and long-lasting fix.
- Large cracks: Cracks exceeding 1 inch signify a significant underlying problem. Professional contractors can diagnose the cause of the crack and recommend the most appropriate repair solution, which might involve raising affected slabs, replacing concrete sections, or even addressing foundation issues.
DIY Sidewalk Crack Repair – A Step-by-Step Guide
For small cracks that you’ve decided to tackle yourself, here’s a step-by-step guide to effective DIY sidewalk repair:
Tools and Materials:
- Safety glasses and gloves
- Hammer and chisel (for larger cracks)
- Wire brush or stiff broom
- Garden hose with spray nozzle (or pressure washer)
- Backer rod (optional, for wider cracks)
- Concrete patching compound (or flexible caulk for smaller cracks)
- Finishing trowel
- Rags for cleanup
Steps:
- Safety First: Don your safety glasses and gloves to protect yourself from dust and debris.
- Clear the Crack: Use a wire brush or stiff broom to remove any loose debris, dirt, or vegetation from the crack. Depending on the size of the crack, you may need to widen it slightly with a hammer and chisel to ensure proper material adhesion.
- Clean is Key: Thoroughly clean the crack using a garden hose with a spray nozzle or even a pressure washer if available. Ensure all dust and dirt are removed to create a clean surface for the patching compound to adhere to.
- Let it Dry: Allow the crack to dry completely before proceeding. Moisture will hinder the adhesion of the patching compound.
- Backer Rod (optional): If you’re dealing with a crack wider than ½ inch, consider using a backer rod. This foam filler helps support the patching compound and prevents it from sagging or cracking itself.


Leave a Reply